Gothic DIY Jacket Customization: Patches, Studs & Paint That Actually Last
Customizing a gothic jacket works best when you plan the design before you touch the fabric: choose a sturdy base jacket, sew patches instead of ironing them, use screw-back studs on leather, and seal painted designs before the first wash. Done right, a DIY jacket looks deliberate and stays uniquely yours for years.
Start With the Right Base Jacket
Every great custom jacket starts with a blank canvas that can take abuse. Thin, stretchy jackets tear at stud holes and pucker under heavy patches, while a structured jacket holds its shape no matter what you add. Before starting a project, check the seams, the lining, and the fabric weight.
Leather, Faux Leather, or Denim: What Each One Tolerates
Real leather takes studs and paint beautifully, but every hole is permanent, so measure twice and punch once. Faux leather is cheaper to experiment on, yet it can crack around tight stud holes and melt under a hot iron, so keep heat low and test on an inside seam first. Denim is the most forgiving base: it accepts patches, bleach, paint, and studs, and mistakes can usually be covered with another patch. Goth DIY consensus is consistent — beginners should start on denim, then move to leather once their layout skills are confident.
Fit Checks Before You Cut, Glue, or Punch
Try the jacket on and move in it before customizing. Raise your arms: if the shoulders pull, studs near the seams will stress the fabric every time you move. Sit down: patches on the lower back panel crease when you sit, so keep heavy designs above the waist bend. Zip it fully and check the front panels lie flat; a jacket that gaps at the chest will distort a painted design. These checks prevent the most common DIY regret — a beautiful back panel that warps the moment the jacket is worn.
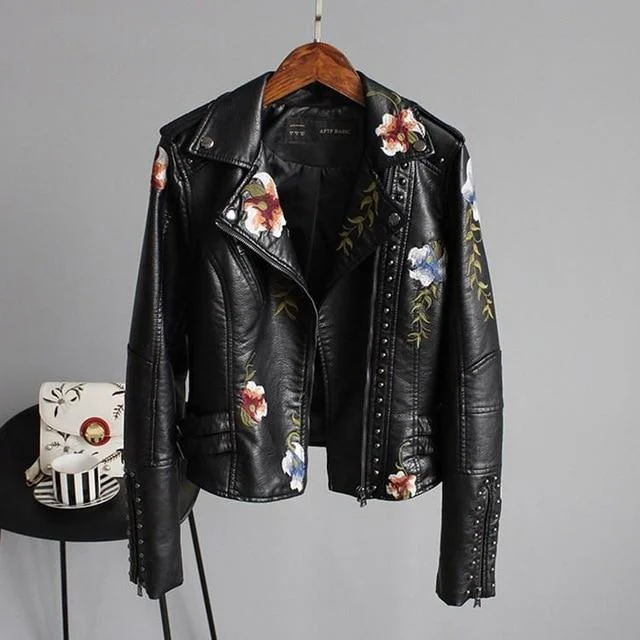
A structured piece like the Bargello Leather Jacket gives studs and patches a firm surface to grip — exactly what a first serious project needs.
Patches That Actually Stay On
Sew, Don’t Just Iron
Iron-on adhesive is a positioning aid, not a permanent bond. Press the patch into place, then sew around the edge with a sturdy needle and heavy-duty thread, using a whip stitch close to the border. On leather, use a leather needle and pre-punch holes with an awl so stitches sit evenly instead of tearing. On denim, a standard needle and doubled thread hold through dozens of washes. Sewing also lets you remove a patch later without the sticky residue iron-on glue leaves behind.
Placement Rules That Look Deliberate
One large back patch reads as a statement; twenty small patches scattered at random read as clutter. Pick a focal point — usually the upper back panel — and build outward: big patch first, medium patches second, small fillers last. Leave breathing room between patches so each one is readable from a few steps away. Keep patches off seams, pocket edges, and sharp folds, which lift and fray first. Look in a mirror after pinning everything but before sewing; rearranging pinned patches costs nothing, unpicking sewn ones costs an evening.
Studs, Spikes, and Chains Without Wrecking the Jacket
Screw-Back Studs Beat Glue-On Every Time
Glue-on studs are the number-one cause of studs popping off onto the dance floor. Screw-back studs, which clamp through the fabric with a backing plate, stay put through rain, moshing, and washing. Prong studs work well on denim but can bend and loosen on thick leather, so check them after the first few wears and re-clamp any that wobble. Buy a few spares in the same size and finish.
Weight and Balance Matter More Than Quantity
A jacket loaded with studs on one shoulder hangs crooked and pulls at the neck. Distribute hardware symmetrically: stud both lapels to match, and keep the heaviest pieces near the shoulders and upper back where fabric is strongest. Avoid thin pocket flaps and collar points, which tear under weight. A jacket heavier on one side feels twice as bad after four hours of wear.
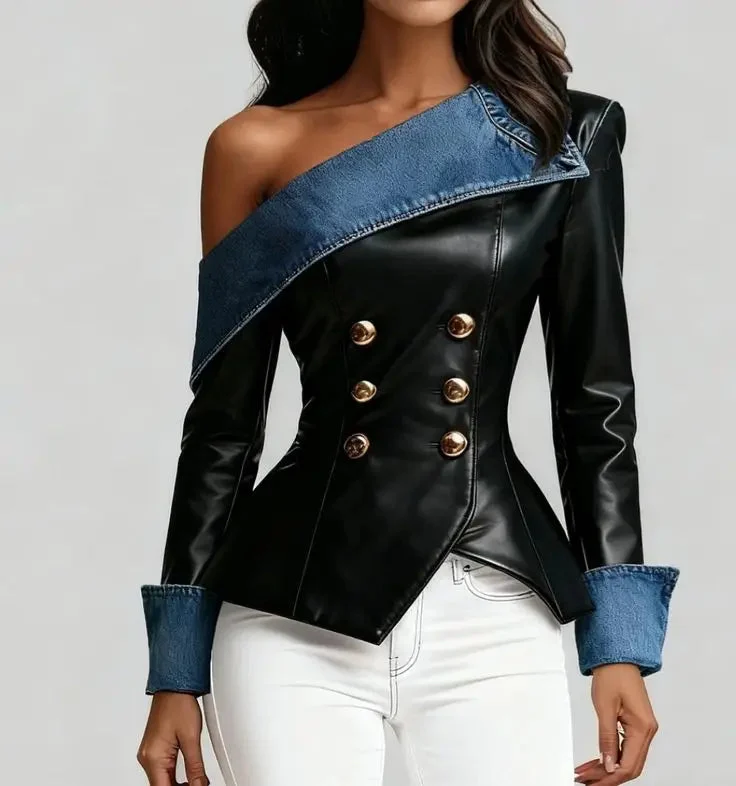
Denim-and-leather hybrids like the Denim Luxe Faux Leather Gothic Jacket are ideal practice pieces: denim panels take patches and bleach, faux-leather sections show off stud work.
Paint and Bleach Art That Survives Washing
Fabric Paint, Heat-Set, Then Washed Cold
Use fabric paint, not acrylic craft paint: fabric paint flexes with the material instead of cracking along fold lines. Apply thin layers, letting each dry fully before adding the next; thick blobs peel in sheets. Heat-set the finished design with an iron through a pressing cloth, then wait at least 72 hours before the first wash. After that, wash inside out in cold water and hang to dry — hot water and tumble dryers fade painted designs fast.
Bleach Designs on Black Denim
Bleach painting gives black denim that faded, moonlit look goth customizers love, but bleach keeps eating fabric long after you rinse it. Work in a ventilated room, apply diluted bleach with a brush or spray bottle through a stencil, and neutralize promptly with a vinegar-water rinse, then a normal wash. Test on an inside seam first: some black dyes turn orange rather than grey under bleach — better to learn that on a hidden spot than across the back panel. Never bleach leather or faux leather; it discolors unevenly and weakens the surface.
Caring for a Customized Jacket
A customized jacket needs gentler care than a plain one. Brush off dust with a soft brush instead of scrubbing, and spot-clean stains rather than washing after every wear. Check studs and stitches monthly, tightening any that loosened before they fall off and get lost. Store it on a wide, sturdy hanger so heavy panels do not stretch the shoulders, and keep it out of direct sunlight, which fades paint and black dye. With that routine, a DIY jacket ages into something better, as patches soften and hardware develops character.
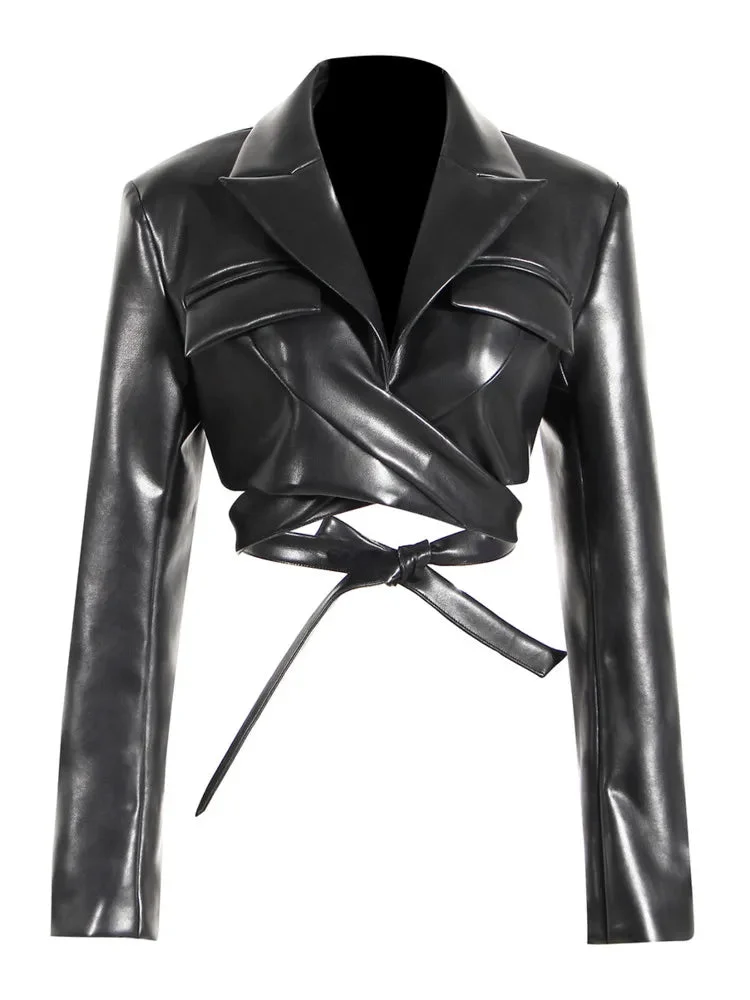
Shorter cuts like the Cropped Jacket suit bold back-panel art, since the design sits above the waist and stays visible even when you sit down.
FAQ: Gothic DIY Jacket Customization
Can I customize a jacket I already wear every day?
Yes, but start small: add two or three patches or a single row of studs, wear the jacket for a week, and see how the additions feel before committing to a full back panel. For everyday jackets, sewn patches and screw-back studs are worth it.
Will studs damage a leather jacket permanently?
Yes — every stud hole in leather is permanent, which is why measuring and marking your layout before punching matters so much. Unsure? Prototype on denim first, then transfer the proven layout to leather.
How do I remove a patch without ruining the jacket?
Use a seam ripper to cut stitches carefully from the back, then lift the patch away and brush off loose threads. On denim, faint outlines usually fade after a wash; on leather, stitch holes may remain visible.
Customizing is the oldest tradition in goth fashion — a jacket you alter yourself carries a story no shop-bought piece can match. Start with a solid base, sew what you can, and test what you cannot.